Rudy And The Rowan Tree

July is almost over (how did that happen?!) and things have been on the quiet side regarding Hooperhart; July is always a slow sales month what with summer holidays etc, so I’ve been trying to get as much stock made in advance of the autumn/winter season as possible to avoid panic stations later on. I’ve also been somewhat distracted by our purchase of a campervan at the start of the month – a 27 year old Talbot Rambler called Tallulah complete with cooker, fridge, loo, shower, a full set of crockery, and most importantly, a wine rack!

Screenshot_2019-07-30-14-28-09

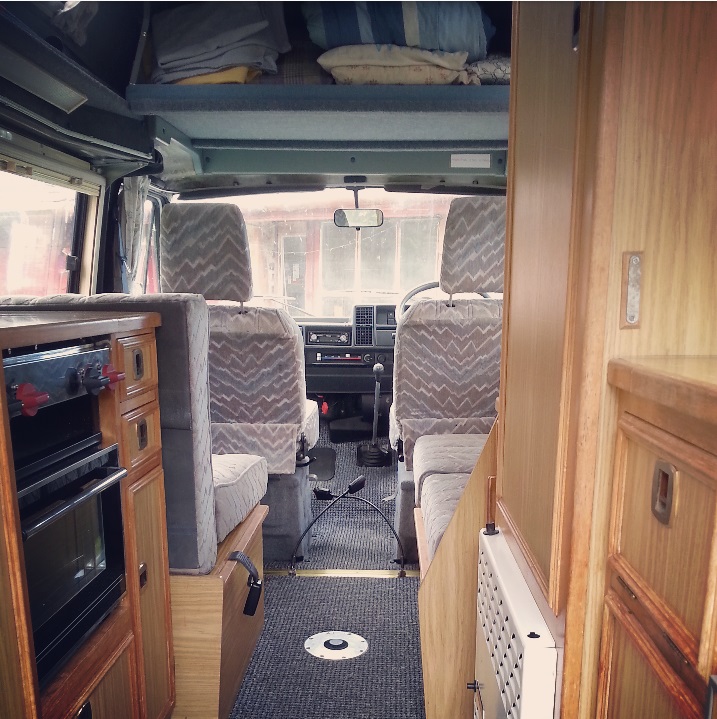
I’d been hankering for another campervan since our beloved Bridget (aka the smallest camper in the world ever) had to be retired from service four years ago; having the freedom to head off whenever you fancy (and in Scotland whenever the weather allows) has such a strong appeal. The thought of being on the road, heading to a remote beach or catching a ferry to an island for a few days is always in the back of my mind, so I was pretty happy to find a suitable replacement in Tallulah.

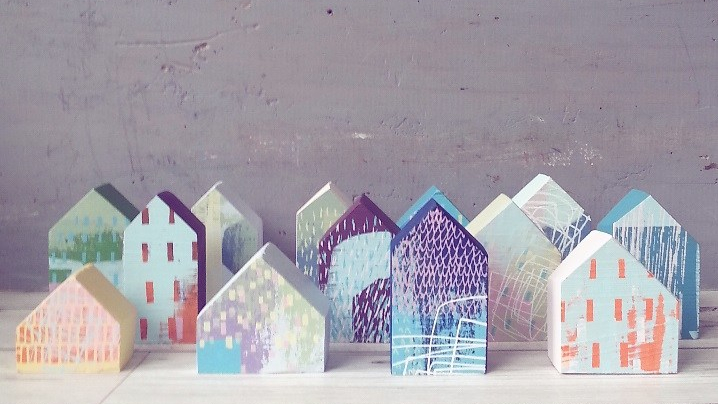
Anyway, besides tootling along the B-roads of Scotland, I’ve also started making little houses from reclaimed wood under the name Rudy and the Rowan Tree:

Rudy and the Rowan Tree

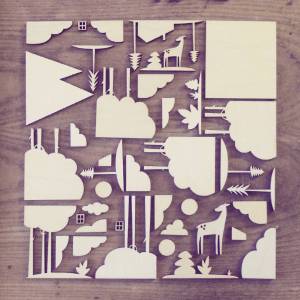
When I’m making my dioramas it’s quite a precise process – there’s a lot of design and planning involved to make sure the finished piece physically and aesthetically fits together. As the work has developed I’ve moved further and further away from the printed pattern aspect (which is where it all began really). So I thought it would be nice to return to that again –  and to make something which was quite free and celebrated the random patterns created by screenprinting layers onto a surface, without planning how the finished piece will look. This, along with the fact I had built up a fine collection of random bits of wood in the outhouse (as you do) let me to making these pocket-sized house-shaped works of art.

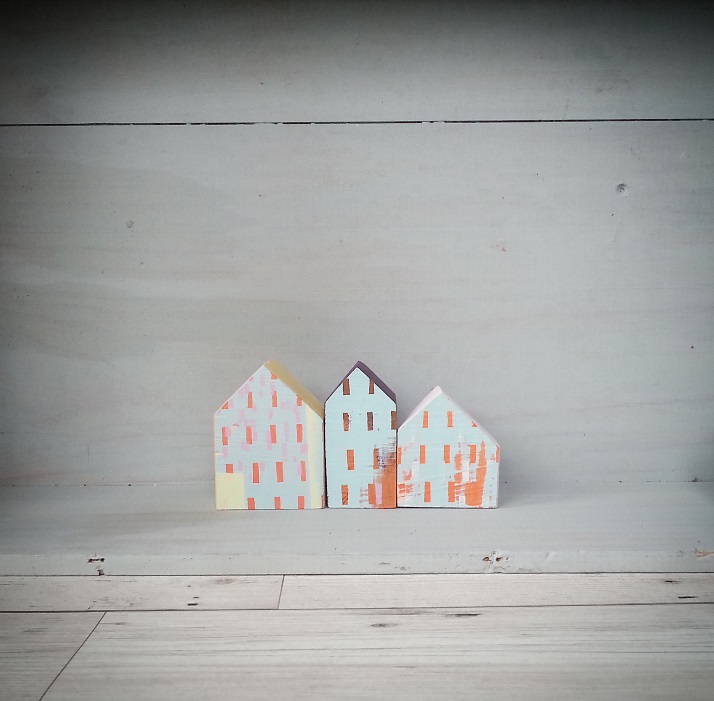
I’d long admired other makers’ little houses on Instagram and Pinterest, be they ceramic, glass, concrete or wood (and had bought a few too!). So this is my own individual take on the miniature house. Each one is completely unique, and the nice thing about them is they are small, affordable and very collectible. You can build a street or even a whole village!

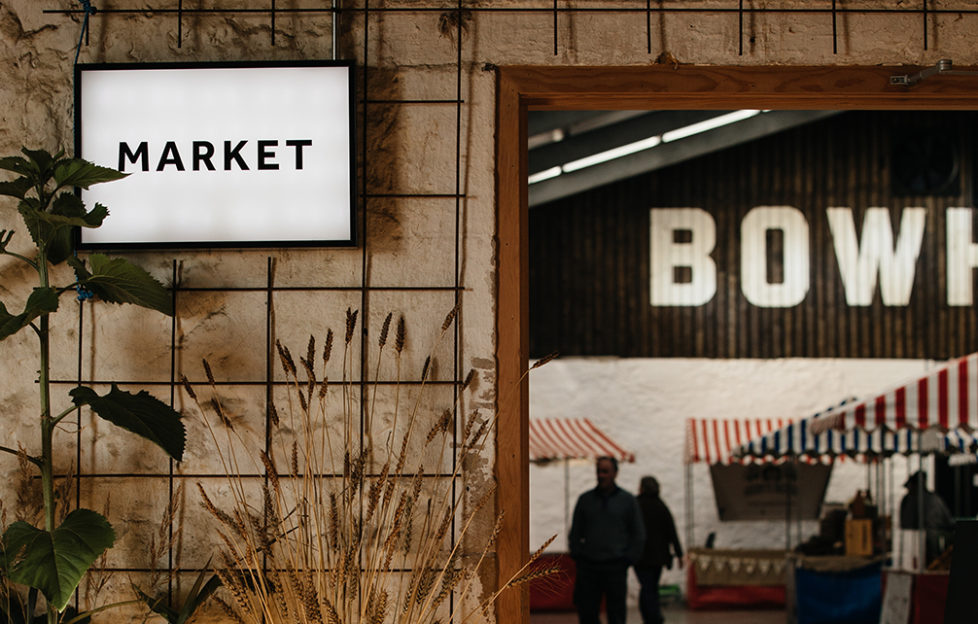
If you like the look of these wee cuties I’ve opened a separate Rudy And The Rowan Tree Folksy shop which currently has free UK shipping over £30, so feel free to have a little browse. I’m also going to be debuting them in the flesh at Southside Artist and Makers Market on August 30th so if you’re in the Glasgow area pop along. More details on this to follow so keep an eye on my SHOP page 🙂

Well, got to go now as it’s time to feed the dog (the original Rudy)

Thanks for reading!

Out & About

Hello! I promised a quick post about where you can catch me out and about this summer, so here we are – I’ve only booked two fairs so far (commitment-phobe, moi?) but they are goodies!

First up this Saturday, June 22nd is Perthshire Creates: there will be 52 talented makers exhibiting over two venues – Perth Civic Hall (where I’ll be) and Perth Museum & Art Gallery. Open from 10am -4.30pm

56823355_2497321003634380_3736144952179032064_n
Design credit: Perthshire Creates

Then in August I’ll be at the fabulous Tea Green Market Weekend at Bowhouse, St Monans, Saturday 10th & Sunday 11th, 10am-4pm with lots of great contemporary craft, artisan food and cool tunes…

Bowhouse_Fife-10-978x624
Photo credit: Scottish Field

It’s been so long since I did a fair but I’m quite impressed with how laid back I am about it all, but then that applies to most things these days (see last post)! As long as I remember my stock, float, phone and card machine I should be alright…

I’m going to blow my own trumpet here and tell you that I’m kinda loving how my work is looking right now! Hopefully other folk will agree. It’s always a dilemma deciding on how much to take to fairs but this time I’ve got myself a super new trolley/cart thingy so at least it’ll be no bother to transport everything to the venues!

So if you’re in the Perth/Fife area this summer, pop along to these fab fairs and support Scottish contemporary craft and small business 🙂

How it’s made

It’s mid March and the snow has started falling again, so it seems like a good time to snuggle up under a blanket and write another blog post! My subject today is the making process, which in my case has many stages, but it’ll give you a rough overview of how I make my pictures and dioramas.

Each piece I make stems from a black and white line drawing in my sketchbook, or more often a series of drawn shapes and patterns rather than a fully formed ‘scene’. I photograph each drawing and piece them together using Photoshop on my laptop. From here I can create layers and manipulate them to give me a rough idea of how the finished picture will look.

20170524_201148[1]

In a way it’s like working out how the layers for a screenprint will look, but each layer will become a ply shape rather than a silkscreen. Each piece has to fit into a frame or a box so a lot of measuring and re-measuring takes place; in the case of the above design where some shapes will touch the inner frame top and bottom, the tree sizes have to be exact to fit perfectly. Once I’m happy with this stage I can then turn each separate piece into a vector drawing using Inkscape, ready for laser cutting. Depending on the size and complexity of the finished work, the number of shapes needed can vary from 4 for a framed picture to 27 for a box diorama! When my vector drawings are finished I can then email them off to my lovely laser cutting lady who goes by the name of LaserFlair

I spent many hours at the start of the year working on new drawings which this week arrived in the flesh, so to speak. It’s always exciting when a parcel from LaserFlair comes, and I can’t wait to get started printing, painting and glueing! (But before I do that I like to lay it all out at right angles aka ‘knolling’ – I can’t help myself!)

IMG_20180108_094330_607

So the design process is the most lengthy part, but once that is done there’s lots of scope within to allow me to create a very different look for each piece I make, whether it’s through use of colour, pattern or even the placement of the ply shapes. Each item I make gets a unique twist! First off I decide on a general colour scheme, but that sometimes changes halfway through and goes off in a different direction! The smaller areas of wood are painted, while larger ones are printed. It helps to be working on 2 or 3 things at the same time so there’s no waiting around for ink to dry…once each piece has colour and pattern I can start placing them in their frame or box, which involves creating something of an infrastructure (ie lots of little bits of ply in strategic places) to attached the layers to.  With the smaller boxed dioramas this can get very fiddly indeed, and the tweezers are usually on standby!

And that’s more or less the process – it’s laborious at times but every piece is a labour of love. I get so much satisfaction from my work; my favourite days involve sitting in my wee studio, listening to arts programmes on the radio, and making my dioramas.